
I have been wanting to make Martha's Paillette Flower Headband for months now. I am an avid headband wearer, especially when I am way too lazy straighten my bands or when it is so wet outside my hair immediately fizzes us.
I bought a set of super cheap headbands at my local CVS for under five dollars (and even got bonus hairbands to go with them!). I had stringed sequins on hand from a previous craft, the Bold Bauble Necklace I made in honor of Mardi Gras earlier this month. Using a hot glue gun, I carefully glued the sequins onto the headband and let it sit.
Then, I made the paillette flower. My fantastic mother had picked up small paillettes from the garment district a few weeks ago, in a nice goldish color. For beads, I used some excess crimps I had lying around. I strung five paillettes, alternating with beads, onto a beading wire. I looped the opposite end of the wire back through the paillettes and beads, creating the center of the flower. I then glued together five more paillettes to create the base of the flower and glued the floral center onto the top.
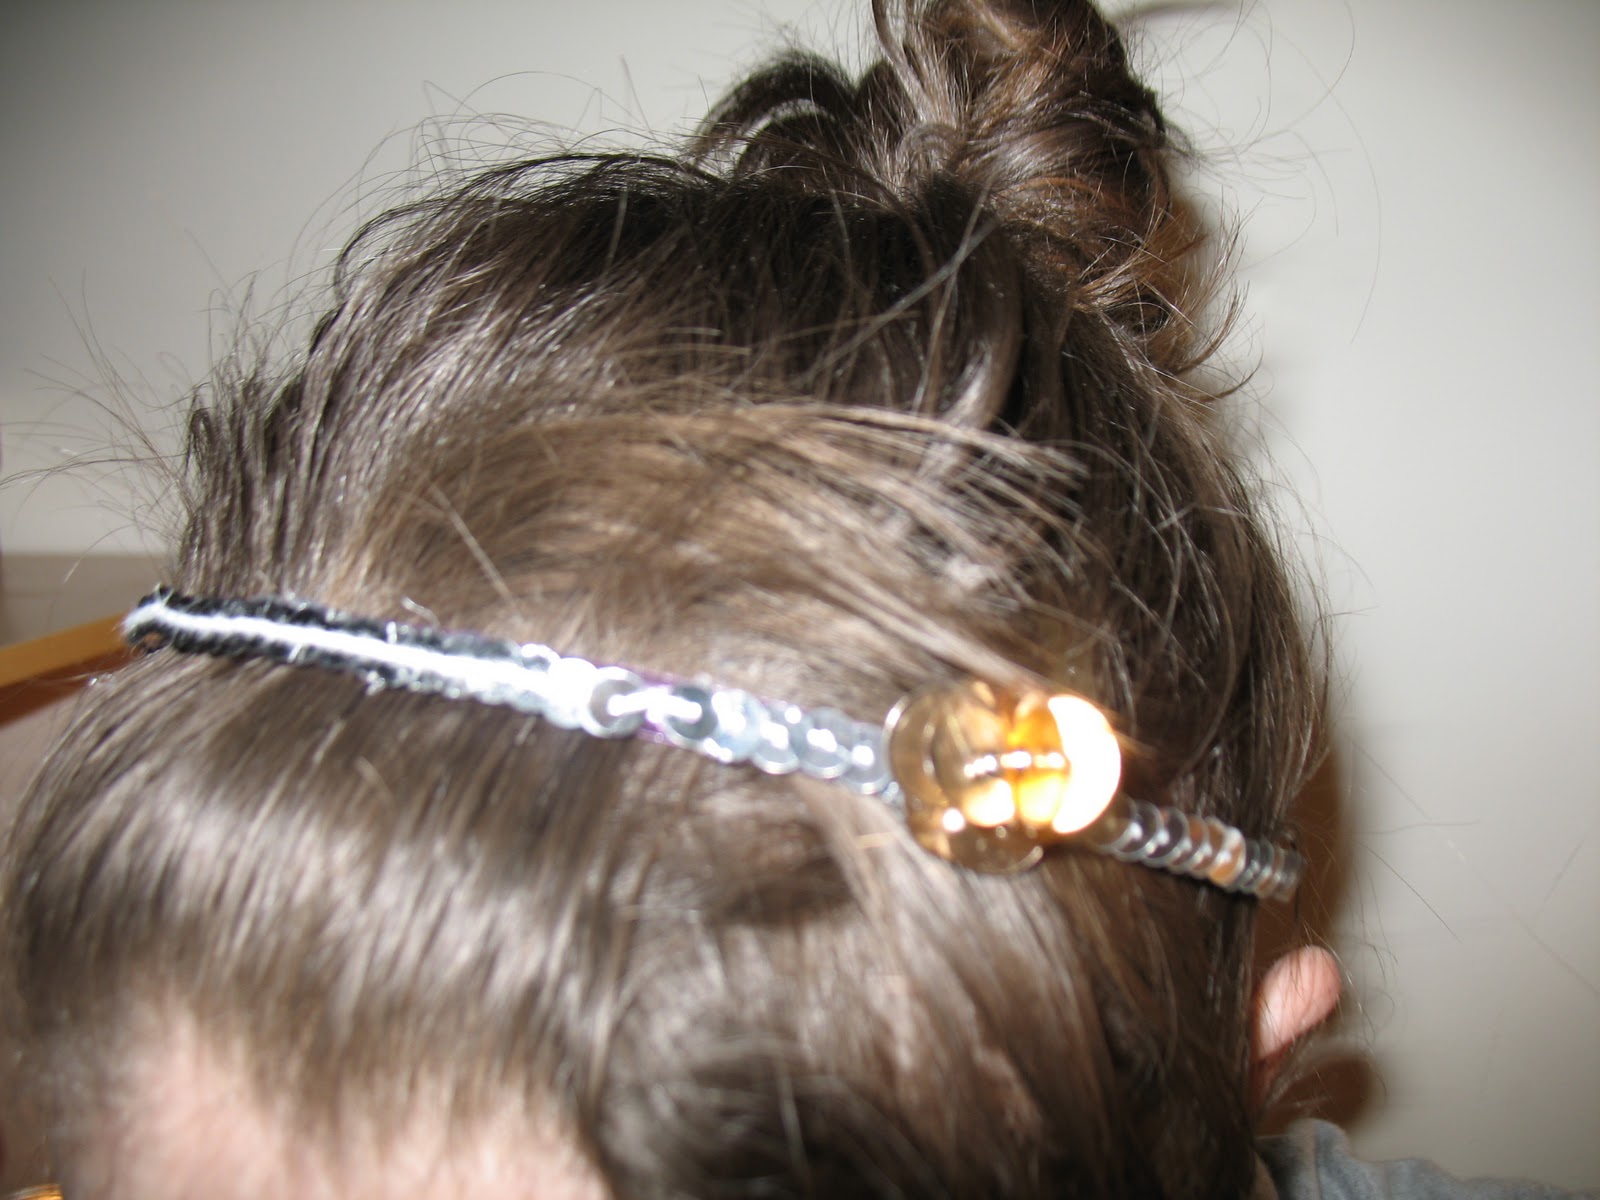 I glued the flower onto the headband, and tada! I was done. I think it looks pretty cute. Next time, I'll try it with some larger paillettes to make more of a statement, but for now, I like what I have.
Instructions
Use paillette flowers for rings, headband accents, and shoe decorations.
Tools and Materials
- Silver embroidery thread
- Needle
- 10 paillettes
- 4 beads
- Magna-Tac glue
1. Make the flower center: Use needle and thread to string 5 paillettes and the beads, beginning with a paillette and alternating. Tightly gather thread to form paillettes and beads into an open book shape. Knot thread, and trim excess.
2. Make the flower base: Arrange remaining 5 paillettes in an overlapping circle, like petals; secure with glue and let dry.
3. Glue the flower center to the flower base; let dry.


