
For my next candle making project, I decided to try my hand at making molded candles. As promised, this project added an increased level of difficulty for a multitude of reasons. Now that I am a few weeks in, I am stepping up my game!
First, I had to select my molds. I happened to have some clean yogurt cups which I thought would make excellent molds. Plus, they were the only thing on hand that remotely resembled the shape of a candle.
I heated up the wax on the stove using the double melting system. I headed up water to boiling and placed the heating container into the water to float on top. The wax melted relatively fast, and I added in lavender scent and purple wax coloring. I let this heat up to around 200 degrees, until I got impatient when it hit around 110.
 I set up the molds while the wax was heating. I cut the wicks to the proper size and attached them to metal posts that sit at the bottom of the candle. I placed a wooden spoon on top of the mold and taped the top of the wicks onto the spoon to prevent it from slipping down into the mold. This was a ghetto substitute for the wooden stick that Martha used, but then again, most of my methods are a tad bit ghetto.
Finally, I poured the wax into the molds up to near to the top. I placed them into a rudimentary ice bath (aka a bowl of water with a few ice cubes in it). There I let them sit until they cooled.
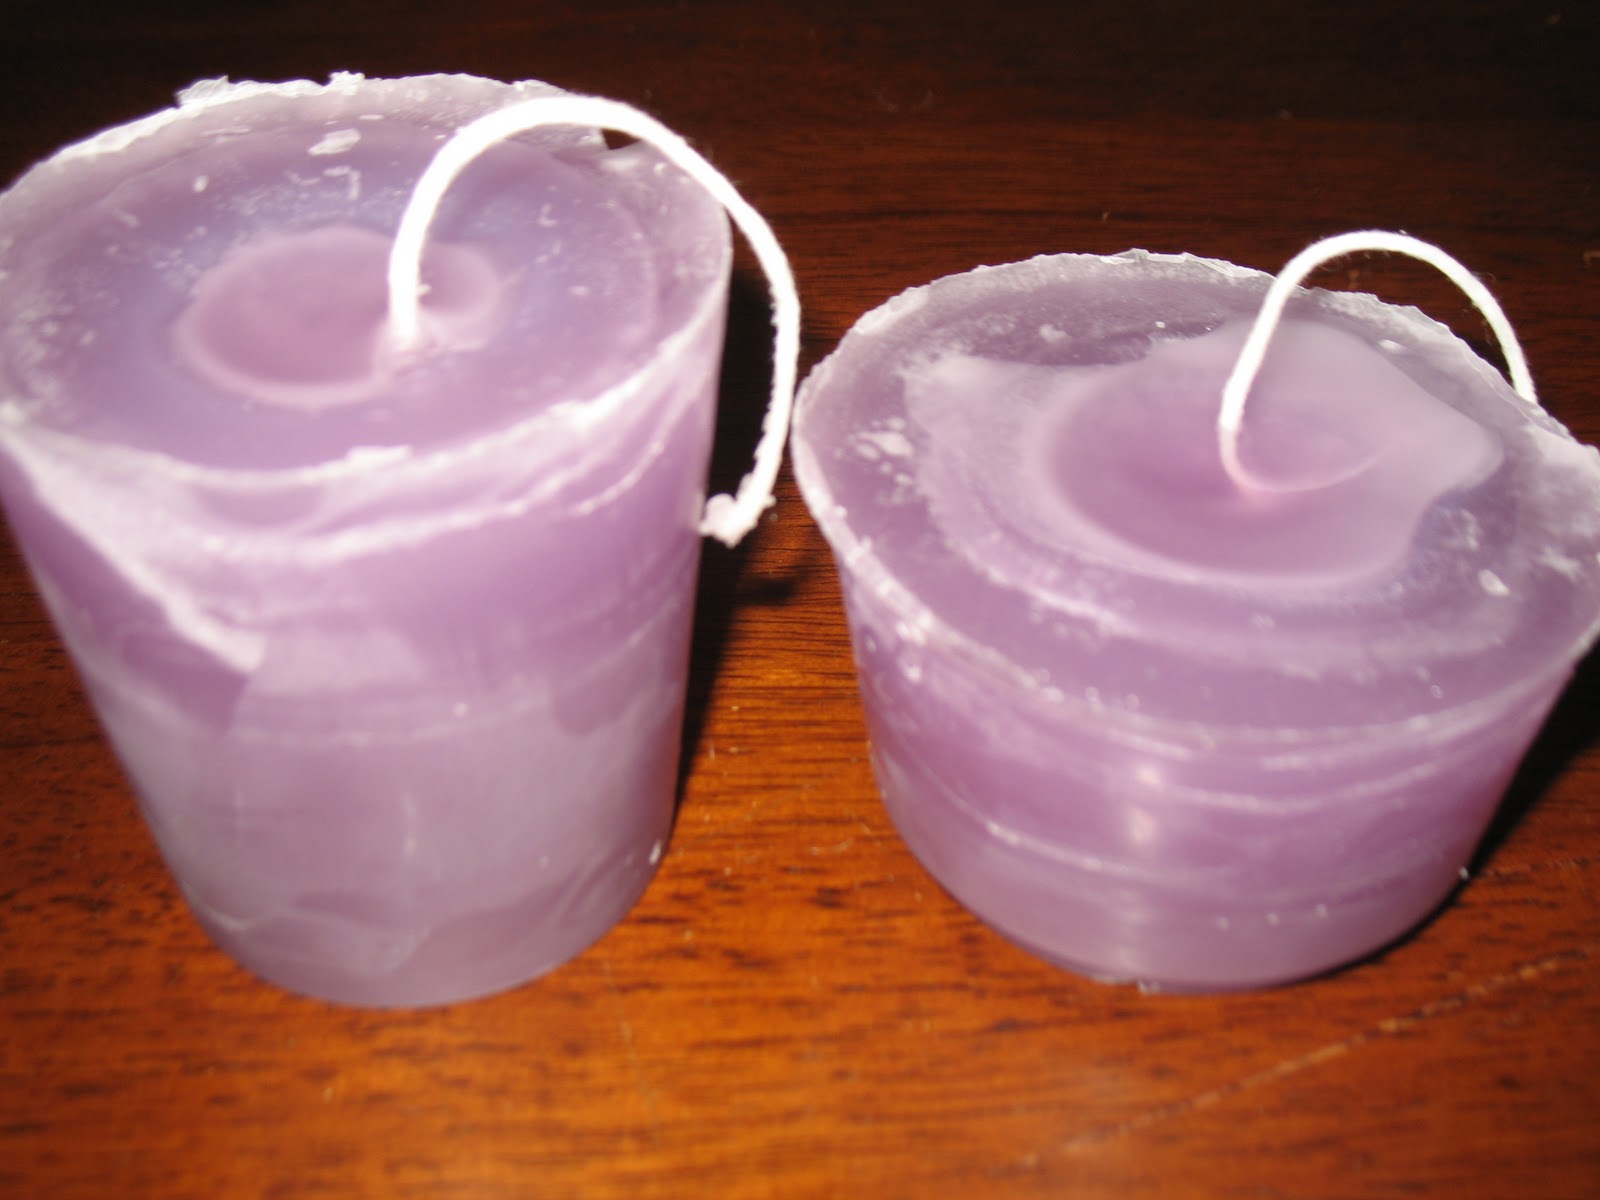
When, inevitably, dips formed in the middle, I filled them in with some extra wax to make the candles look extra professional and fancy. It actually did the trick and was worth the annoyingness of having to heat up more wax that had hardened in the pot. I am going to cut the wicks because they're super long and then I'll be ready to go.
All in all, this was an incredible craft. They candles look cool and smell like lavender, which always relaxes me. I love making candles because for a relatively easy process and low price, they look really professional and make excellent gifts and decorative items for my apartment.


