Showing posts with label sequins. Show all posts

Friday, April 8, 2011

I heart sequins.


But you already knew that. I promise that I'm almost done with my sequin jewelry. Maybe.

So I've done a necklace, rings and now I give you... earrings!

I kind of sort of love these a lot. I'll need to clean off the excess glue at some point, once they completely dry.

I'm off to enjoy my Friday in this fantastic city. Until next time... sparkle on.

Sunday, April 3, 2011

Finger sparkles

As you may have noticed, I love sparkles. There's just something nice about a touch of wearable glimmer to make an outfit a little bit more special.

I particularly love rings. For awhile now, I have been making rings out of a variety of found objects, buttons and the like. Today, I decided to try something new.

I really enjoyed Martha's bold bauble project, which I created in honor of Mardi Gras back in early March. The necklace was super fun, and really simple to make. Today, I decided to adapt this same technique and make some bold bauble rings to add some sparkles to my fingers as well.

The technique was simple enough. I had some leftover wooden beads that I had used from the wooden bead dye project. I figured these would be a perfect size for a chunky statement ring.

I rolled a strand of sequins (I did one in gold and one in silver) around the wooden bead, gluing along the way with tacky glue, my favorite. Of course, the tacky glue got everywhere: my hands, my pajamas, all over the sequins... but that's just the danger of crafting.

Once the wooden beads were completely covered, I used hot glue to glue the baubles on top of two ring blanks, one in gold and one in silver.

The resulting rings are fun, funky and definitely make a statement. I think I'll wear these when I'm feeling kind of dangerous...


Tools and Materials
  • Wooden beads or foam balls
  • Strung sequins
  • Tacky white glue
Sequin-Wrapped Beads and Foam Balls How-To

1. Pull 1 or 2 sequins off the thread to create a lead end. Starting at the top of bead (or foam ball), secure lead end with a dab of glue.
2. Apply glue one section at a time, and adhere sequin strand, spiraling it tightly and applying pressure as you work. Leave bead holes open if you'll be stringing them; otherwise, cover with sequins.

Wednesday, March 23, 2011

Shinyyyyy

I have been in desperate need of some new accessories for spring; if you can call the current wintry mix feels like 23 degree weather "spring", that is. I figured that something shiny might make me feel slightly better, at least.

I have been wanting to make Martha's Paillette Flower Headband for months now. I am an avid headband wearer, especially when I am way too lazy straighten my bands or when it is so wet outside my hair immediately fizzes us.

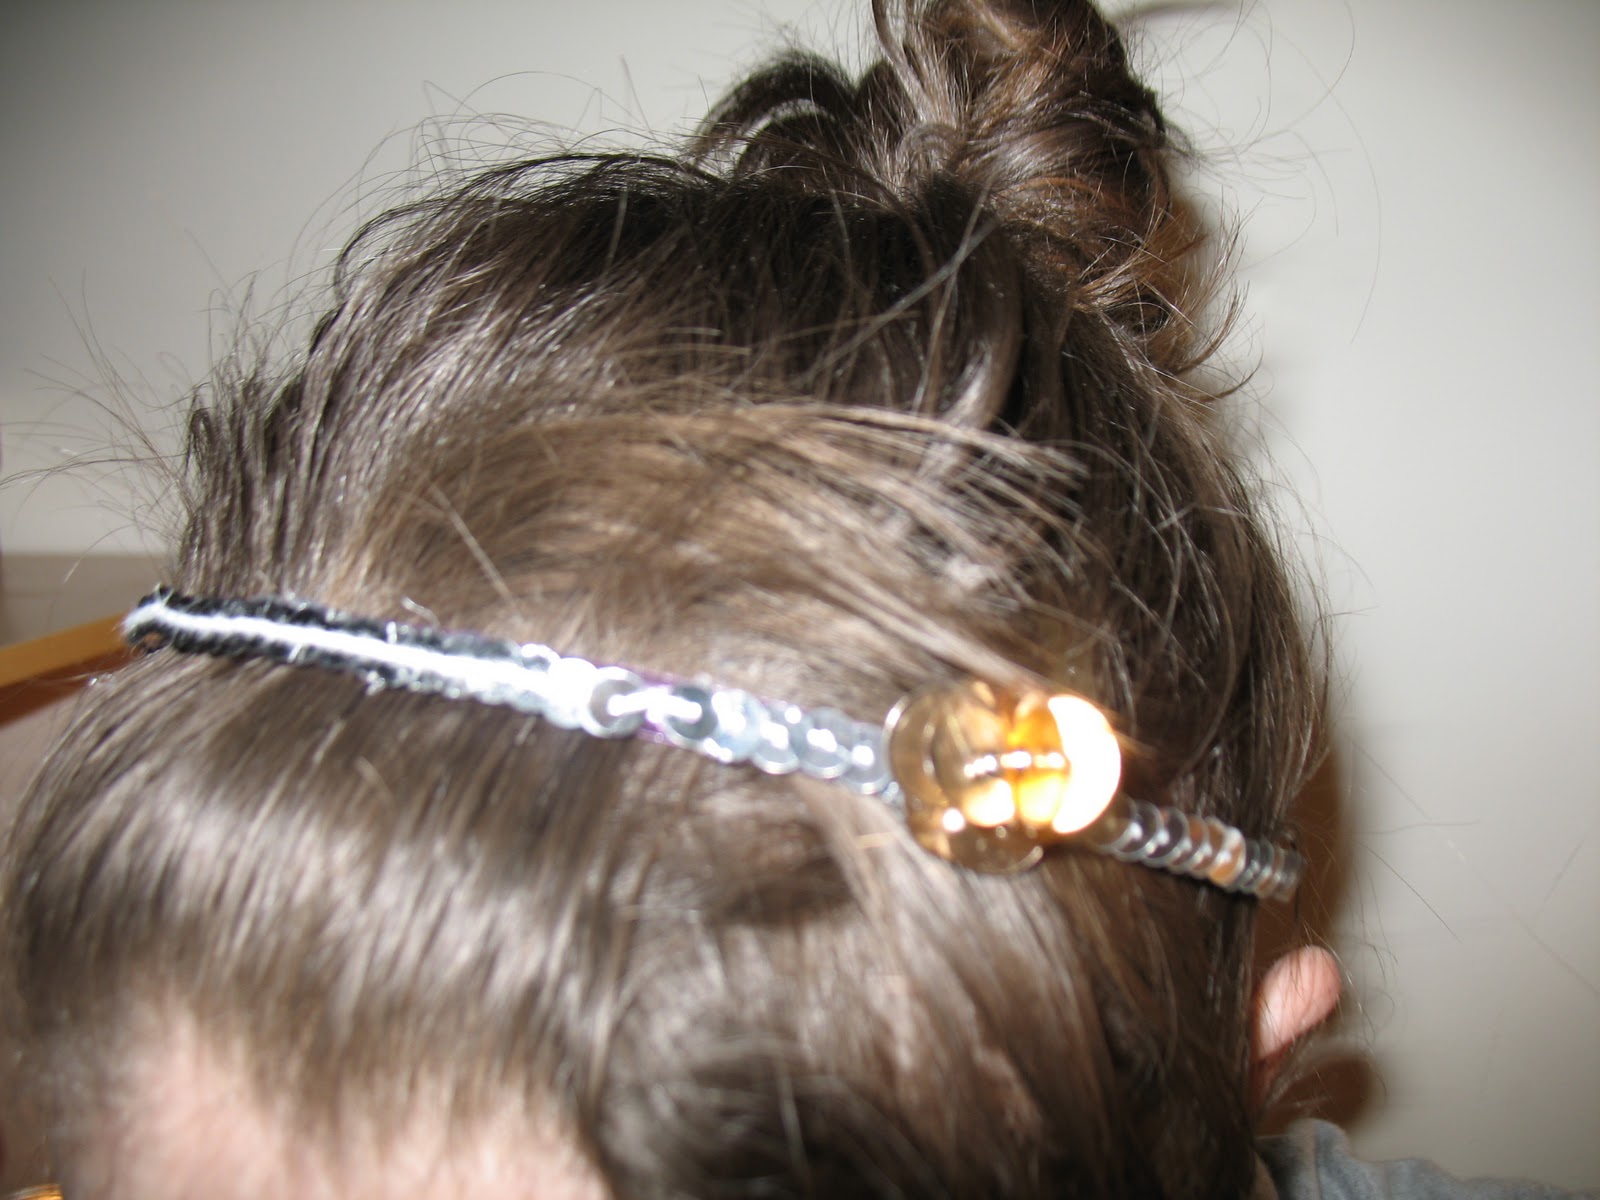
I bought a set of super cheap headbands at my local CVS for under five dollars (and even got bonus hairbands to go with them!). I had stringed sequins on hand from a previous craft, the Bold Bauble Necklace I made in honor of Mardi Gras earlier this month. Using a hot glue gun, I carefully glued the sequins onto the headband and let it sit.

Then, I made the paillette flower. My fantastic mother had picked up small paillettes from the garment district a few weeks ago, in a nice goldish color. For beads, I used some excess crimps I had lying around. I strung five paillettes, alternating with beads, onto a beading wire. I looped the opposite end of the wire back through the paillettes and beads, creating the center of the flower. I then glued together five more paillettes to create the base of the flower and glued the floral center onto the top.
I glued the flower onto the headband, and tada! I was done. I think it looks pretty cute. Next time, I'll try it with some larger paillettes to make more of a statement, but for now, I like what I have.

Instructions
 
Use paillette flowers for rings, headband accents, and shoe decorations.
Tools and Materials
  • Silver embroidery thread
  • Needle
  • 10 paillettes
  • 4 beads
  • Magna-Tac glue
Paillette Flowers How-To

1. Make the flower center: Use needle and thread to string 5 paillettes and the beads, beginning with a paillette and alternating. Tightly gather thread to form paillettes and beads into an open book shape. Knot thread, and trim excess.
2. Make the flower base: Arrange remaining 5 paillettes in an overlapping circle, like petals; secure with glue and let dry.
3. Glue the flower center to the flower base; let dry.

Friday, March 4, 2011

It's that time of year again!

Mardi Gras time! One day I'll make it to Mardi Gras. This is a goal of mine, and one of the few that is relatively easily attainable. Until then, I plan to bring Mardi Gras to frigid New York.

Step one: make some awesome, glittery, Mardi Gras jewelry in preparation. Example: Martha's Bold Bauble Necklace, which is both cute and a bit over the top: the perfect combination for such a flashy holiday.

The actual craft was pretty simple as well. I bought syrofoam balls in two different sizes, which turned out to be less heavy than the wooden balls the craft suggested. I also bought three different colors of stringed sequins, decided on gold, silver and purple.

I wrapped the sequin chain around each styrofoam ball bit by bit, gluing along the way with tacky glue, an essential crafters adhesive. I poked holes in each styrofoam ball with a wooden skewer. Finally, I strung the glittery balls onto a purple ribbon. I used smaller beads in between to add to the effect.

I love this necklace! It definitely makes a statement and isn't for everyday, but it looks much more expensive than it is and is fabulous and sparkly. I may not have Mardi Gras, but New York isn't too bad itself.

 Tools and Materials
  • Wooden beads or foam balls
  • Strung sequins
  • Tacky white glue
Sequin-Wrapped Beads and Foam Balls How-To
1. Pull 1 or 2 sequins off the thread to create a lead end. Starting at the top of bead (or foam ball), secure lead end with a dab of glue.
2. Apply glue one section at a time, and adhere sequin strand, spiraling it tightly and applying pressure as you work. Leave bead holes open if you'll be stringing them; otherwise, cover with sequins.